
We the people of digital media have always been perceived as cubicle dwelling, keyboard hitting and word minting creatures of cyberspace.
But at TheTechPanda we are not just the above mentioned quintessential souls, we are more than that, we love startups, innovators, makers and all things creativity. We are always storming on our brains to foray into something more novel and riveting and we always welcome like minded teams and individuals who share the same love for creatives as we do.
As usual working on a normal day, not expecting to get caught in serendipity, our Senior Editor Saraswathi was approached by NEN.
National Entrepreneurship Network, a non-profit established in 2003 by Wadhwani Foundation with a mission to create and support high growth entrepreneurs. Providing critical support to startups and early-stage entrepreneurs through high-impact entrepreneurship education, access to mentors and experts, fast-track access to incubation and funding.
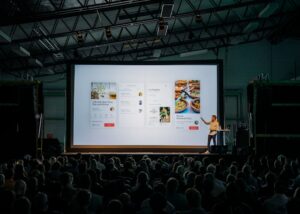
The crew behind TheTechPanda and NEN team up to host a radical and comprehensive workshop on Business Modelling and Marketing.
And you get to meet us, the stealth mode scriveners and word casting cyber crew of TheTechPanda and some high experienced mentors. No matter you are dressed up or not, we will still be shooting you with our camera and pushing it up on our Facebook and Twitter boards and if you are caught in a kodak moment, you’ll get a mention when we blog about the event on our site.
|
|||||||||||