


Intro
Have you ever been irritated by the thought of having to go through all the stages of developing each new project from scratch again, feeling like the weight of monotony is pulling you down? It’s a common frustration among developers – the feeling that every project follows the same tedious process, leaving little room for creativity.
But what if I told you that there is a way to break out of this cycle and turn your Webflow development experience into a source of pleasure and satisfaction? The secret is to use best practices and innovations that will allow you to take your Webflow development workflow to the next level.
In this in-depth guide, we’ll look at techniques you can use to streamline routine development steps, overcome common things, and unlock the platform’s full potential. So, fasten your belts and get ready to ride into a world where efficiency reigns.
Stage 1 – Setting the Stage for Success
When you start your new Webflow project, it needs to have a strong and efficient foundation to scale from there. Although this is a preparatory phase, development has already begun and there are important points to consider that will set you up for success.
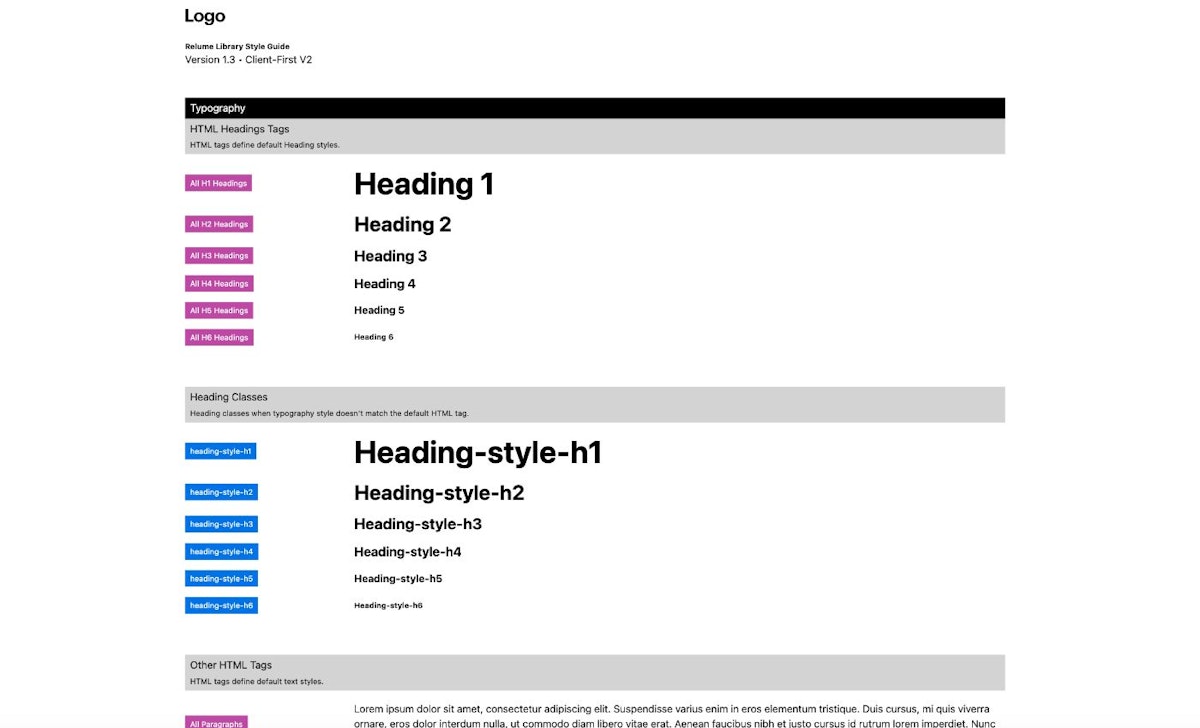
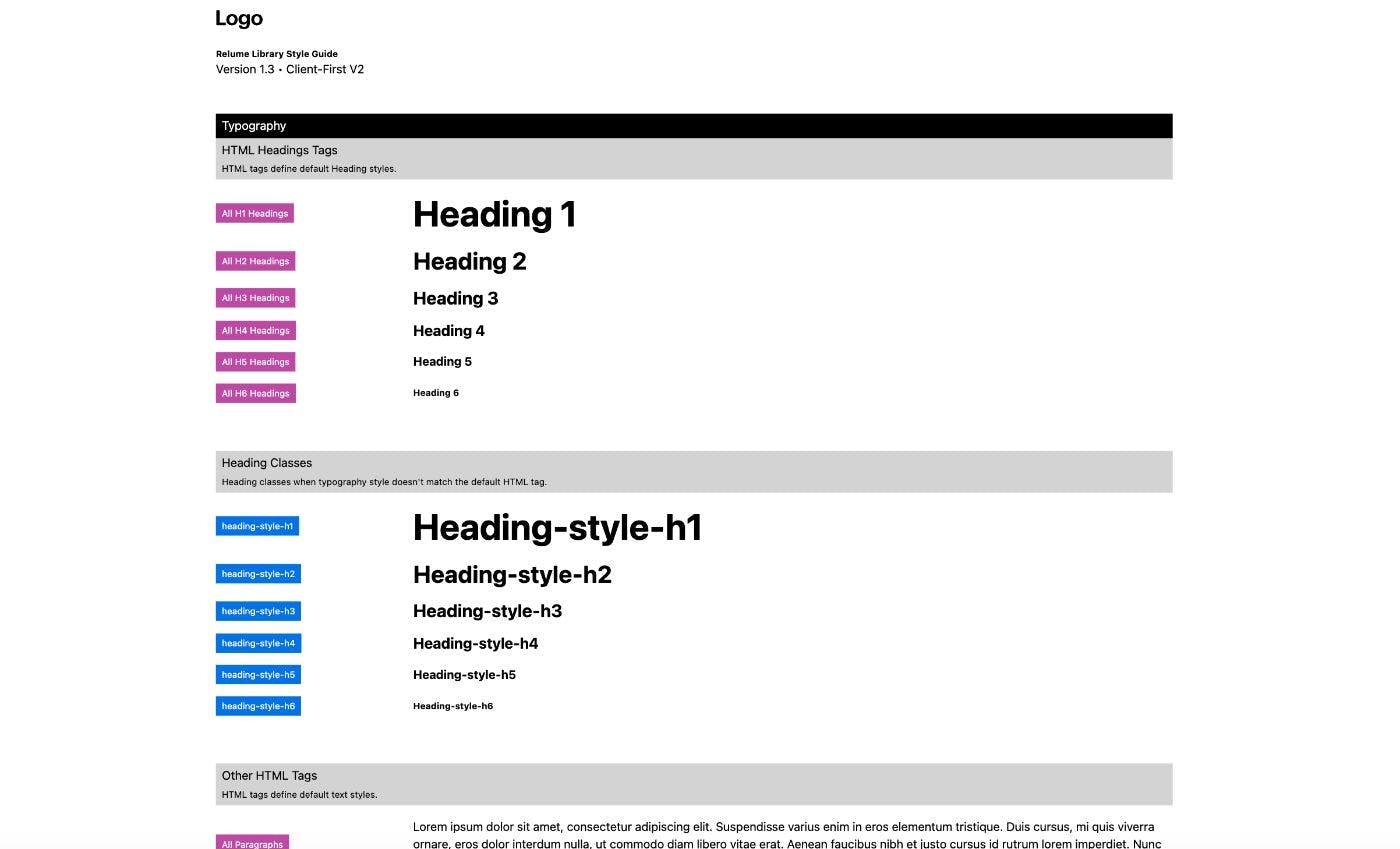
Relume styleguide page
If you think of a styleguide as a blueprint for your project, its primacy becomes clear. Creating a styleguide marks the beginning of your project, ensuring that classes and styles behave predictably throughout. So before you dive into developing specific pages, take the time to work on styles. There are 2 approaches to creating a styleguide:
- either create your own base project from scratch, matched to your preferences, or
- use ready-made open source frameworks such as Finsweet, Relume or Wizardry or any else.

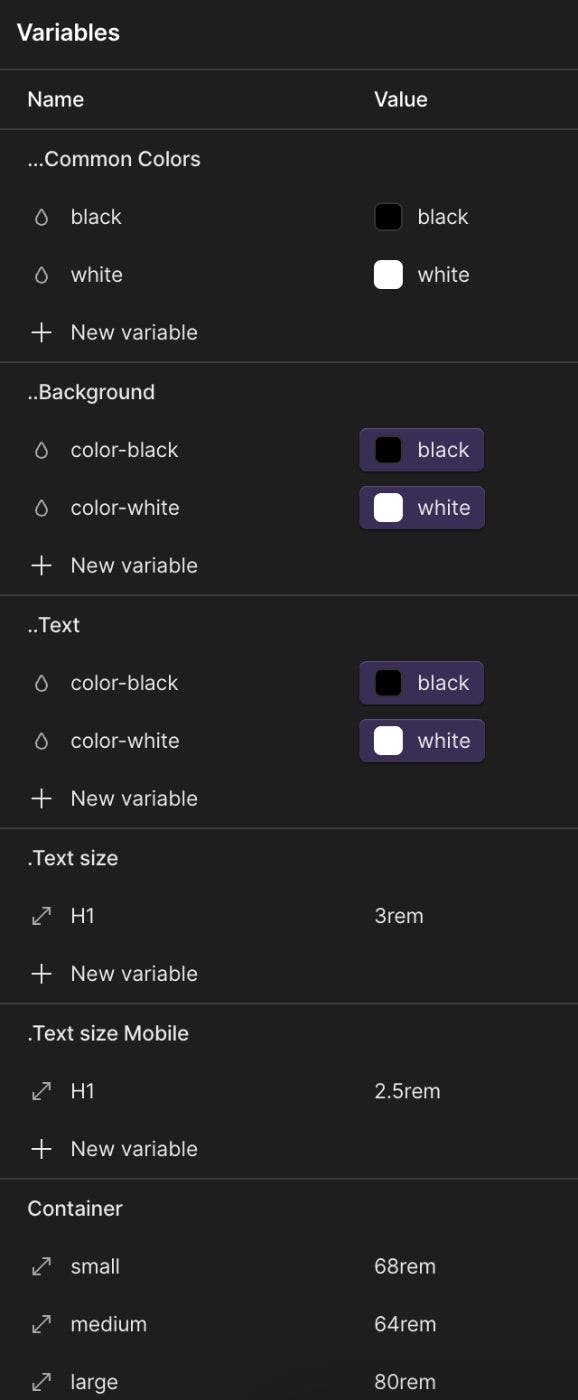
Frequently used variable groups
Thanks to a recent update to Webflow, using variables has become even more intuitive and efficient. By organizing variables into well-designed groups, you can simplify development and increase efficiency. I recommend considering creating groups such as:
- Common colors
- Background
- Text
- Text size
- Text size Mobile
- Container (max-width)
- Icon Sizes
Once these groups are created and associated with the corresponding classes, you can move on to developing web pages with ease and confidence.
Working on variable creation has always been a best practice, and Webflow continues this tradition in the realm of low-code development. These predefined groups provide a solid foundation for any project, allowing for a smoother and more structured development process. And if a client comes back to you with a request to change the color scheme from dark to light, you will be grateful to yourself that you used variables.
1.3 Prioritizing Accessibility
Accessibility are often left to the final stages of a project, but their importance cannot be overstated. From the very beginning of your project, accessibility feature integration should be at the forefront of your mind, influencing every decision and element you add.
Webflow has made a checklist publicly available, after carefully studying it you will have an idea of the main points in this matter.
One of Webflow’s standout benefits is its built-in accessibility dashboard, which provides visual information about how your project is perceived by people with visual impairments. This feature allows you to view your project through multiple accessibility filters, simulating different viewing conditions and highlighting potential areas for improvement.
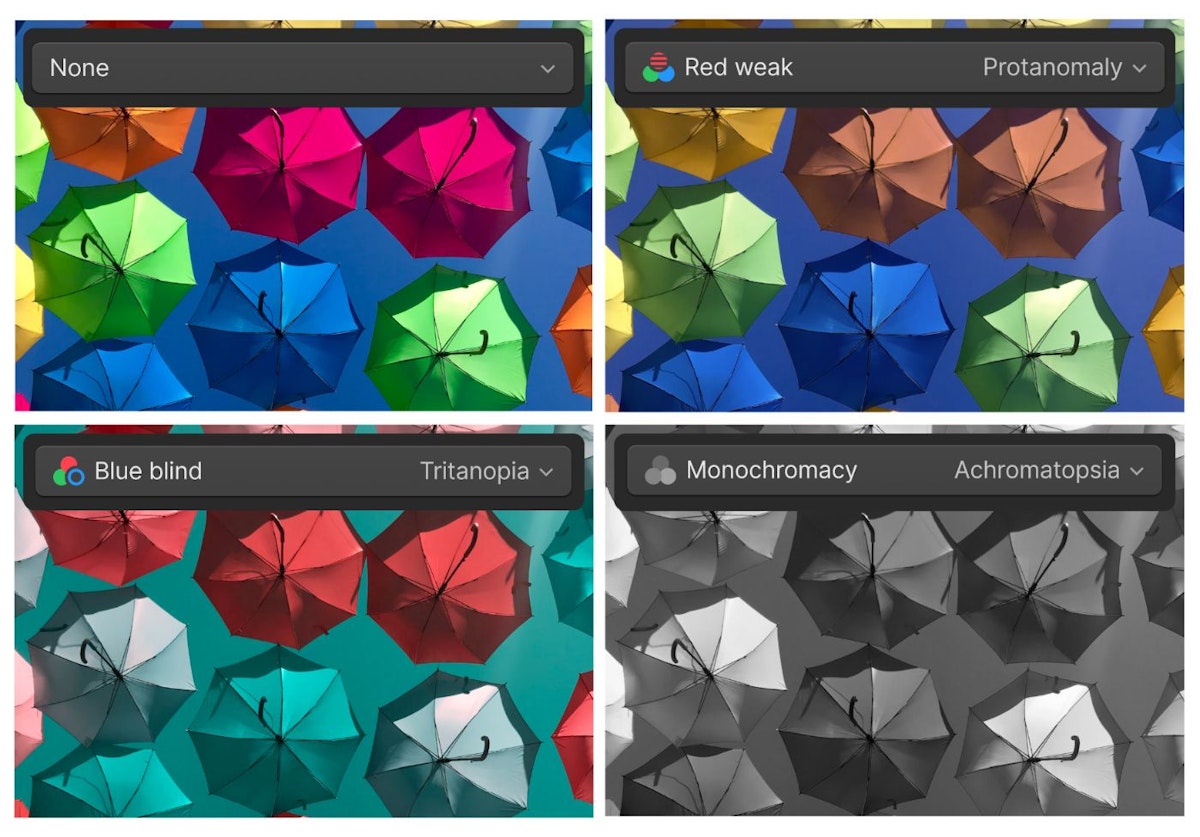
An example of what your page will look like for people with visual impairments
It’s about creating a more equitable and inclusive digital environment. By prioritizing accessibility from the start, you not only improve the usability of your project, but you also demonstrate a commitment to equalizing access to your project for all members of your audience, regardless of their abilities.
Stage 2 – Mastering the Development Process
Now you are entering the stage of directly developing all the pages in accordance with the design. Here are some recommendations to help you get through this stage successfully:

Colorful code
“Stop. Why? For what? But how can this be?! After all, the future has already arrived and why do we need the code now?” – you may say. But let’s be honest: without knowledge of code, you can start understanding web development and make a quick start to your career. But staying competitive and creating extraordinary things on the simple drag-and-drop functionality of no-/ low-code platforms doesn’t seem like the truth. Therefore, welcome to the endless development and learning that I talked about in my previous article.
Webflow in-built HTML tags
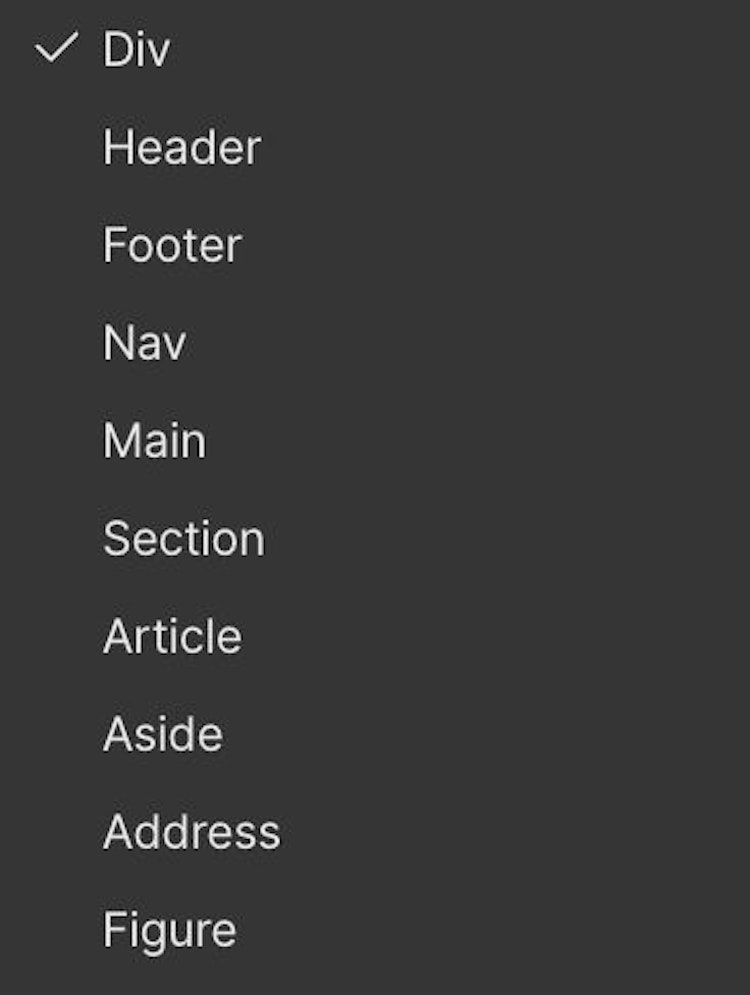
When working on low-code platforms like Webflow, it’s tempting to rely solely on divs and text elements to create structure. But this is where we differ from ourselves yesterday, that, at a minimum, having read my article, we take responsibility for the quality of the finished product. Make sure your markup follows semantic conventions by using elements such as <header>, <nav>, <main>, <aside>, <footer> and others and correct headings level to improve clarity and accessibility.
2.1.2 CSS:
- mentally divide all your future code into global and local. Add global CSS to the Navbar component. This way you will have access to it from any page, and you will also see how styles are applied even before publishing the project.
- Write styles for hover states in code, using media queries. This method ensures that the haver position is displayed only on the desktop:
<style>
  @media screen and (hover:hover) {
    //Insert your code here...
  }
</style>
- Write separate styles for 1024px wide screens to solve the unique layout issues specific to devices of this particular size.Although it is easy to create a responsive design in Webflow, tablet layouts start at 991 pixels wide. It turns out that the 1024 screen applies all desktop styles to itself. However, I have not yet had a single project in which I did not have to separately write styles for a 1024 screen. I would consider this item mandatory for verification. Whether or not to register styles separately depends on each individual project.
- Add comments to your CSS code to improve readability and facilitate collaboration with other developers. Make life easier for yourself and other developers during subsequent project edits. Leave the project the way you would like to see it if you inherited it from a previous developer.
<style>
  /* About page Start */
    //Insert your code here...
  /* About page End */?
</style>
- Instead of relying solely on Webflow animations, I highly recommend using CSS animations to make your page easier and more efficient without impacting page performance.Webflow built-in animation tool make it easier for a beginner to create a good website with numerous interactions. However, if we are talking about advanced development methods, it is important to note that CSS animations are extremely light and do not slow down the page with its presence. Conversely, webflow animations, which are essentially aimed only at changing the CSS properties of elements, work through JS and thereby slow down the page. This is not noticeable in small projects, but is noticeable in large ones. In any case, I advise you to use CSS as much as possible on any project, instead of native Webflow animations, even for practice. We remember that a habit appears after numerous repetitions. Let’s form it.
- If user interaction with lottie animations is not planned, it’s much better to use mp4 file instead of .json and even optimized .json. Performance in Safari will thank you for it.
2.1.3 JavaScript:
These are best practices that have long been taken for granted:
- Follow to best practices for JavaScript placement, including using global settings for global project scripts and page settings for local scripts.
- Use <async> and <defer> attributes for scripts that can be loaded in parallel to optimize page loading times.
2.2 Webflow components
How often when studying the design of your project do you ask yourself the question: What repeating elements in the project can I use as templates in different pages? Components in Webflow allow you to maintain a consistent, efficient, and scalable design workflow by creating customizable blocks from elements and child elements. You can reuse those blocks across your site, and modify them in a single place to avoid individually revising each recurring layout (source – https://university.webflow.com/lesson/components?topics=layout-design).
Often this can be:
- Navbar
- Footer
- Button – if it is non-standard, has a custom design and effects, and/or a branched structure.
- CTA Banner – one or two of its varieties are often used throughout the project.
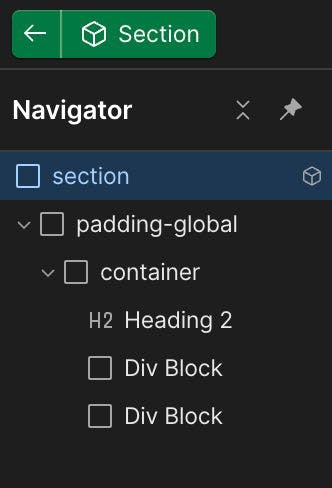
- And my more used symbol is Section – there should be an empty section with a tag and a class, inside it all the standard classes including a container, Heading 2, paragraph and several empty div blocks. This is the most commonly used component you will use, I promise you. Just add it, unlink and finish dev part. By adding it as a base, you can save a lot of time instead of adding each div block separately.
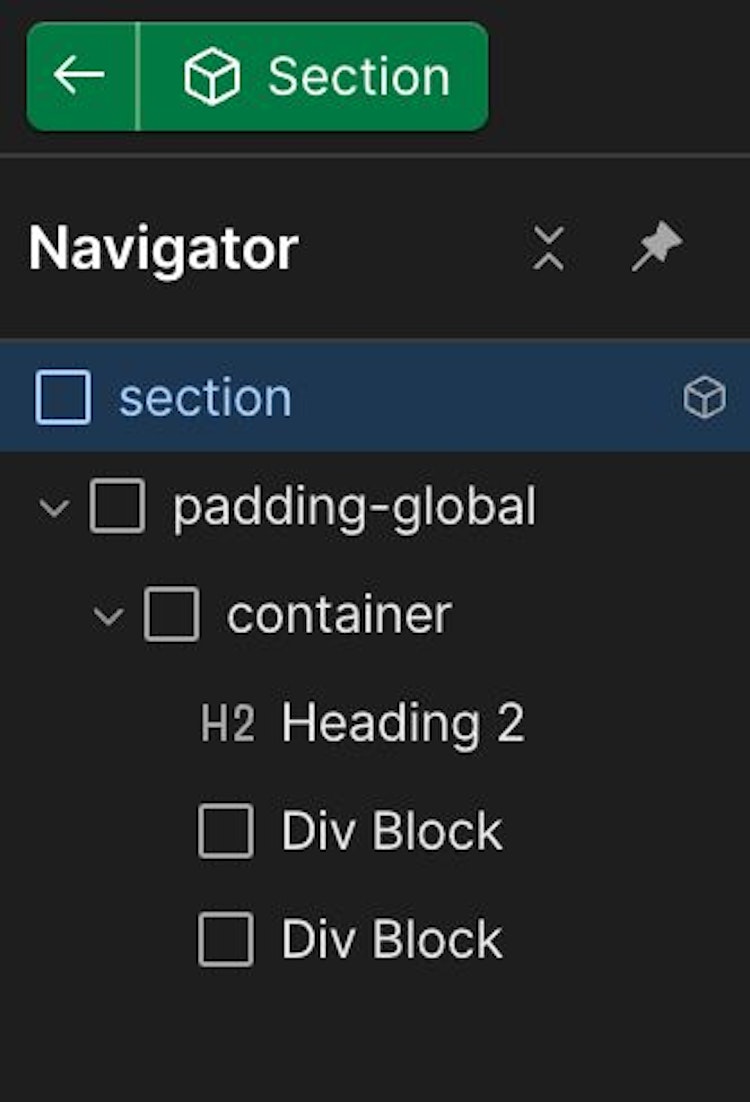
Webflow component “Section”
Using code you can expand the capabilities of Webflow components and provide the client with an incredibly flexible project management system without access to the HTML page structure. This is a completely new approach to web development that allows the client to control many design aspects of the project after the developer has completed the project. In the future, the client will be able to easily create new pages independently based on already created components. And only if there is a need to develop fundamentally new elements will it be necessary to hire a developer. When working with components, clients have virtually no chance of destroying your perfectly prepared HTML structure (however, our clients are often very capable).
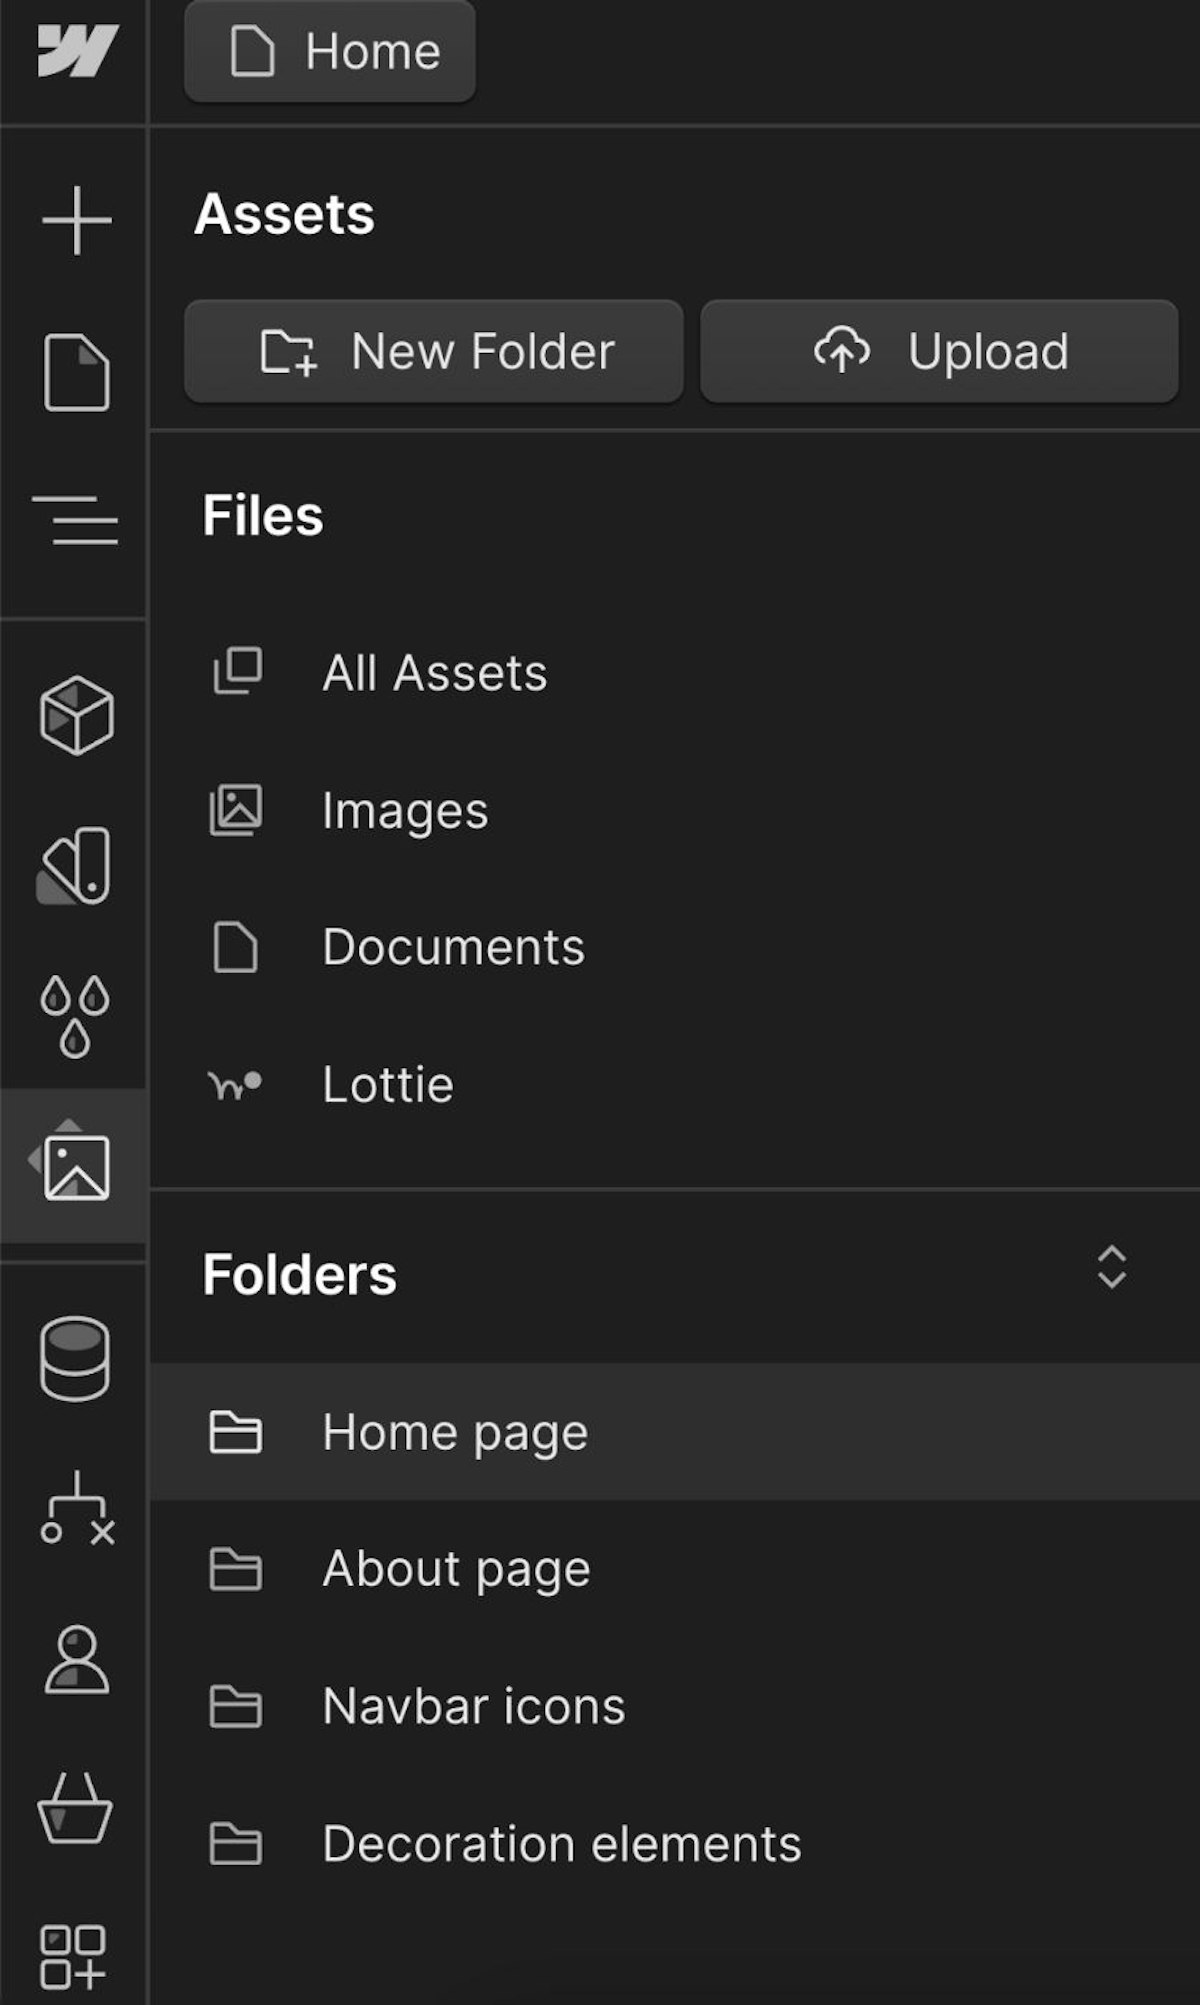
Media assets folder view
Use grouping of assets where this makes them easier to find and manage. For example, you have a massive navbar and there are many links with icons in it. The designer has already prepared some of them, promised to finish the other part in 3 days, and the last part is still under consideration by the client. While the designer draws new options, then the client reviews half of them, makes edits and approves the other half, and finally sends them to you for development, most likely you will already have many other images in the asset panel. Icon images will be broken and finding/replacing them in the future will be inconvenient. In this case, grouping assets will make life easier. Grouping allows you to keep all the media in your project clean and organized.
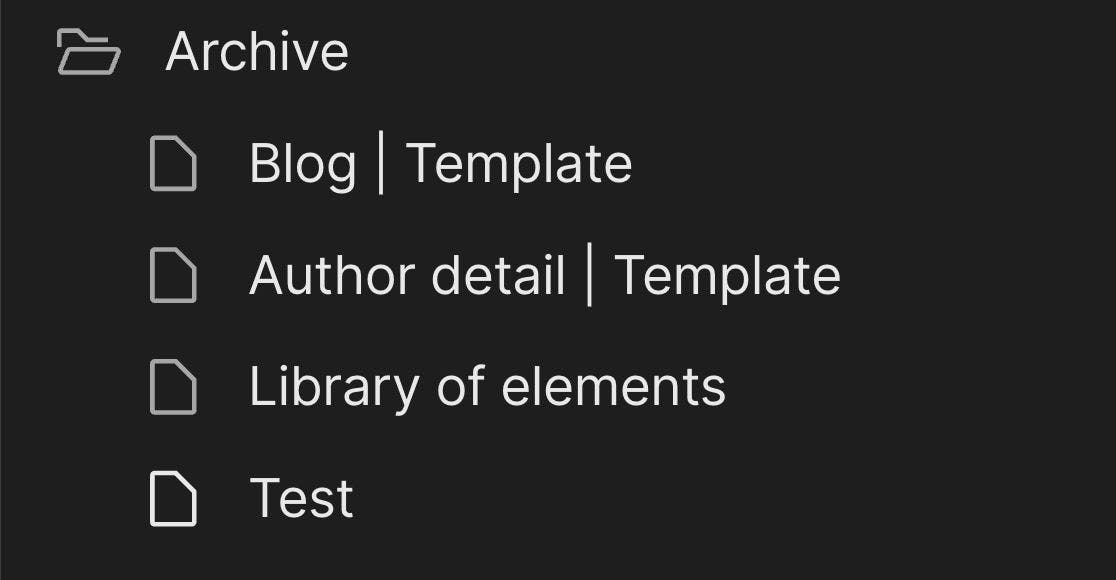
2.4 Stock up on an Archive folder to save the:
- static versions of dynamic ?MS pages. In case of any changes or edits, it will be much easier for you to do it in a static version and then transfer it to the ?MS page. The peculiarity of ?MS pages in Webflow is such that when you connect all the necessary elements with the corresponding fields in the Collection, you will not be able to copy the element in which this connection is present and transfer it to a static page.
- A page with initial versions of elements. The frequent practice of numerous edits forces us to be careful and not remove from the project what has already been built. Move this to the archive page and leave it until better times.
- Test page for experiments.

Example of Archive folder pages
Stage 3 – Final edits
What is important to do at the end of the project before transferring it to the client, so that you do not leave the feeling that your project has really leveled up now:
3.1 Cleaning the project:
- remove unused classes and animations.
- remove commented out, unused code.
- remove unused media. If there is a lot of unnecessary stuff in the panel and it is not possible to remove it individually, I suggest a hack: delete all assets – publish the project – reload the webflow – and get into the panel asset only those media that are used in the project.
3.2 Create a Project user manual for the client.
In addition to the style guide page, there should be a page describing how to use the finished project. A good developer is one who thinks about how the client will manage the project in the future. How easy it will be to make changes and what degree of freedom the client will have in managing them. Thanks to webflow, this can be as close to perfection as possible. Having CSS knowledge and an understanding of the operating principles of webflow components, you can put together a project in which it will be easy to change current pages or create new ones.
3.3 Give backups unique names.
The principle of descriptiveness applies to everything that you, as a developer, give a name to. Any part of the project should be intuitive for you and your colleagues in the future.
Conclusion
In conclusion, let’s briefly summarize the main points that you should focus on in improving your everyday life as a developer.
Stage 1 – Preparation
- Create a Styleguide to ensure consistency and predictability in design elements.
- Set up Variables to streamline development and enhance efficiency
- Prioritize Accessibility from the outset to create inclusive and user-friendly websites.
Stage 2 – Direct Development
- Add coding power as a valuable skillset to unlock endless possibilities in web development.
- Use Webflow components as powerful tools for future-proofing your projects.
- Organize media assets into groups for easy access and management.
- Maintain an Archive folder to store unused elements for later use.
Stage 3 – Home straight
- Cleanup unused elements and assets to optimize project performance.
- Create a Client Guide to facilitate seamless handover and client management.
- Save a meaningful called backup of your projects to safeguard against data loss and ensure continuity.
The adoption of best practices is essential for maximizing efficiency and productivity in Webflow development. By following this approach, you’ll not only save time on repetitive tasks but also free up valuable resources for relaxation, self-development, and the creation of innovative projects. Let’s transform our workflows and unleash our creativity to build even cooler things.
This article was originally published by Darya Shuhlia on HackerNoon.


